
1. Idea and Concept
Everything begins with the search for "that specific" object. We focus on three key directions:
-
Exclusivity: developing models that no one has reproduced in miniature before (such as the MT-12 "Rapira").
-
Surpassing Standards: creating models that significantly outperform existing analogues in terms of quality and detail (for example, our M777A2).
-
Technological Innovations: rare and modern specimens, such as the "Stokhid" drone.
We don't just look for ideas on the internet — we visit military museums and, most importantly, constantly communicate with military personnel. This helps us understand not only the geometry of the equipment but also the logic of its operation.
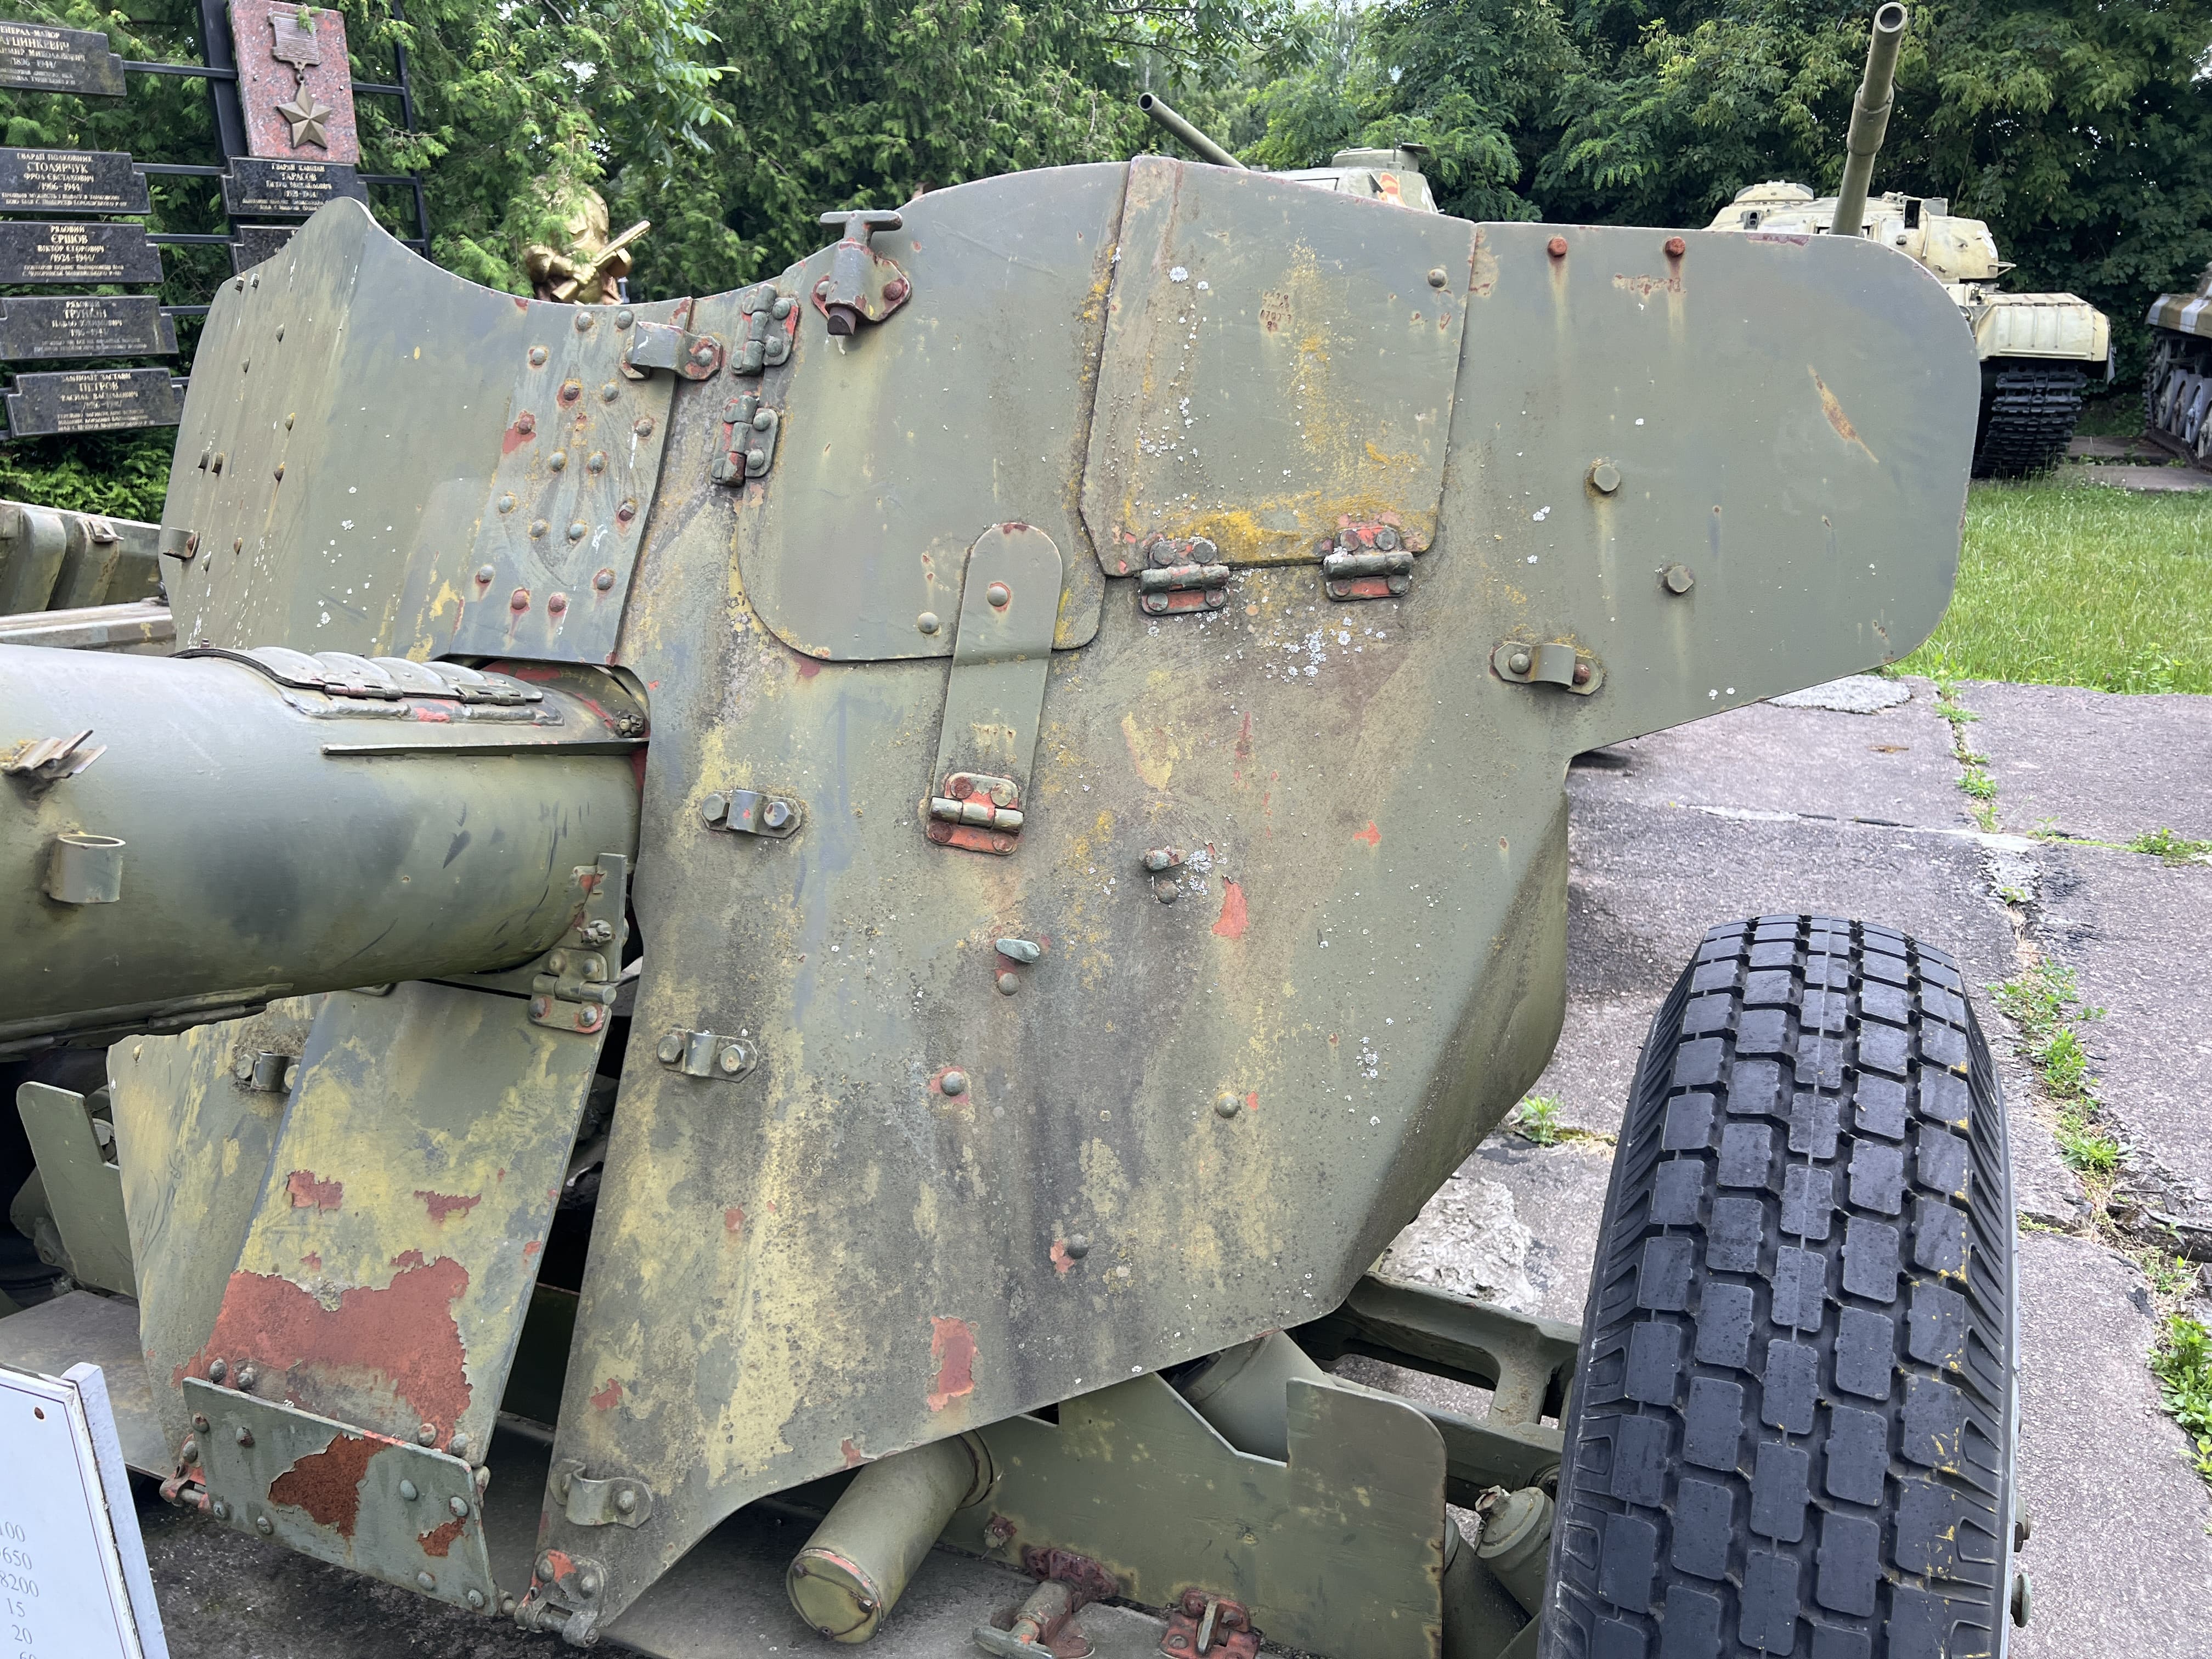
*One of the photos from the process of studying the MT-12 "Rapira" anti-tank gun at the military museum in Lutsk.
2. Searching for Real Prototypes
Authenticity is our priority. We don't design "from scratch." This stage includes:
-
Data Analysis: studying blueprints and technical documentation.
-
Photo References: gathering hundreds of photographs of real prototypes from various angles. Since we operate in a country at war, we can collect references directly from the battlefield through our military friends and even request measurements of specific components that interest us. We practice this consistently, which creates the true uniqueness of our models.
-
3D Scanning: wherever possible, we use high-precision scans of real equipment and machinery to capture every fold of fabric or individual rivet.
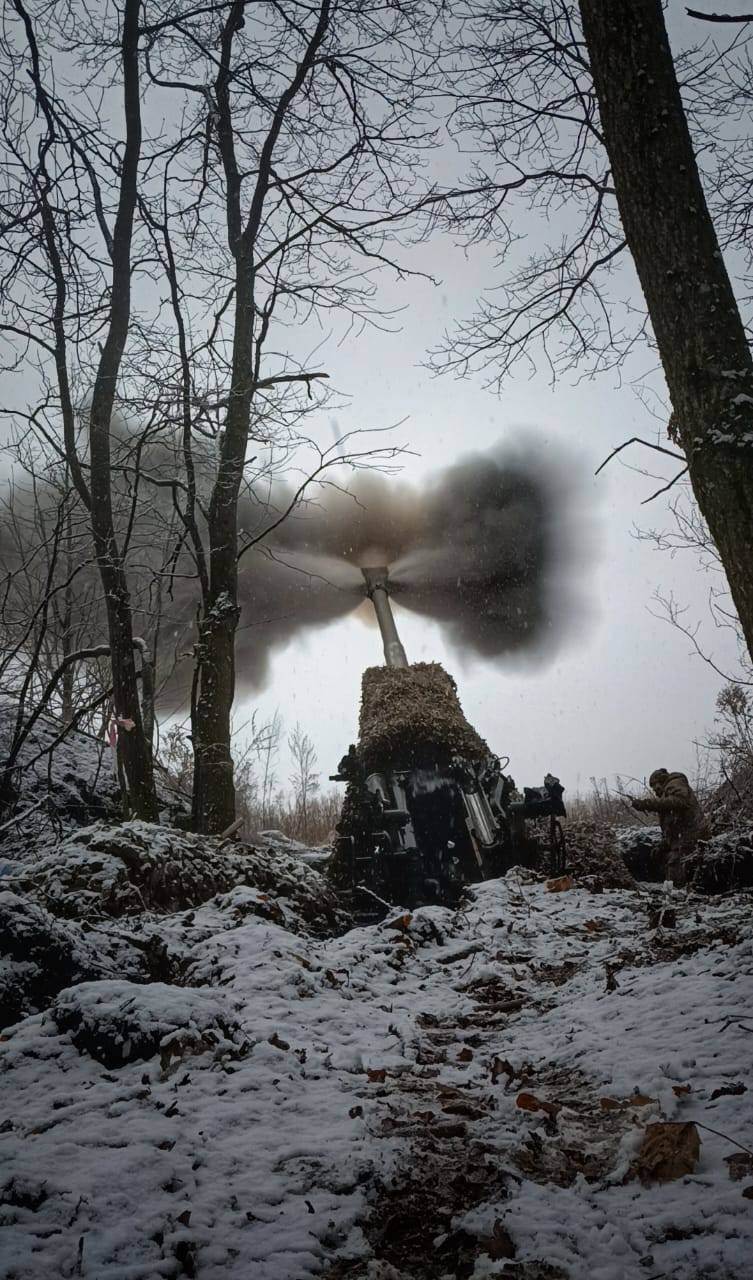
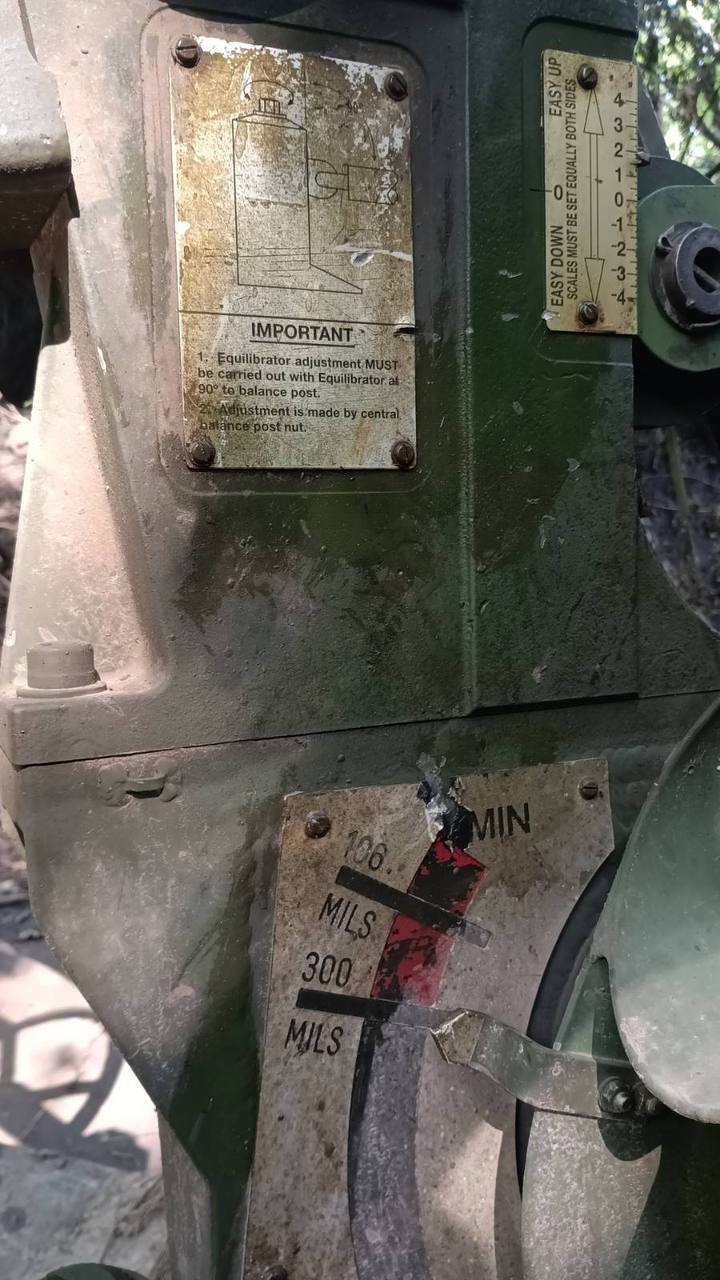
*Several photos of the M777A2 in real-world use, received by us from the front lines.
3. Model Development in 3D
Based on the collected data, the magic of digital sculpting begins. We use advanced software to create highly detailed models. Special attention is paid to micro-details: the texture of materials and small equipment elements that make the model "come alive" after printing. At this stage, we model the maximum number of details that can be expressed in our chosen scale.

*An example of combining 3D scanning and 3D modeling in our FV103 "Spartan" model.
4. Optimization and Stress Tests
A model must not only look beautiful on the screen but also be enjoyable to assemble.
-
Smart Segmentation: we divide the model into parts to minimize the number of supports during printing and to make the gluing process intuitive.
-
Quality Control: we conduct a series of test prints. We check everything: perfect fitting of parts, the strength of thin elements, and surface clarity. If we aren't satisfied with the result, we go back to modeling and refine the components as many times as necessary to achieve perfection.
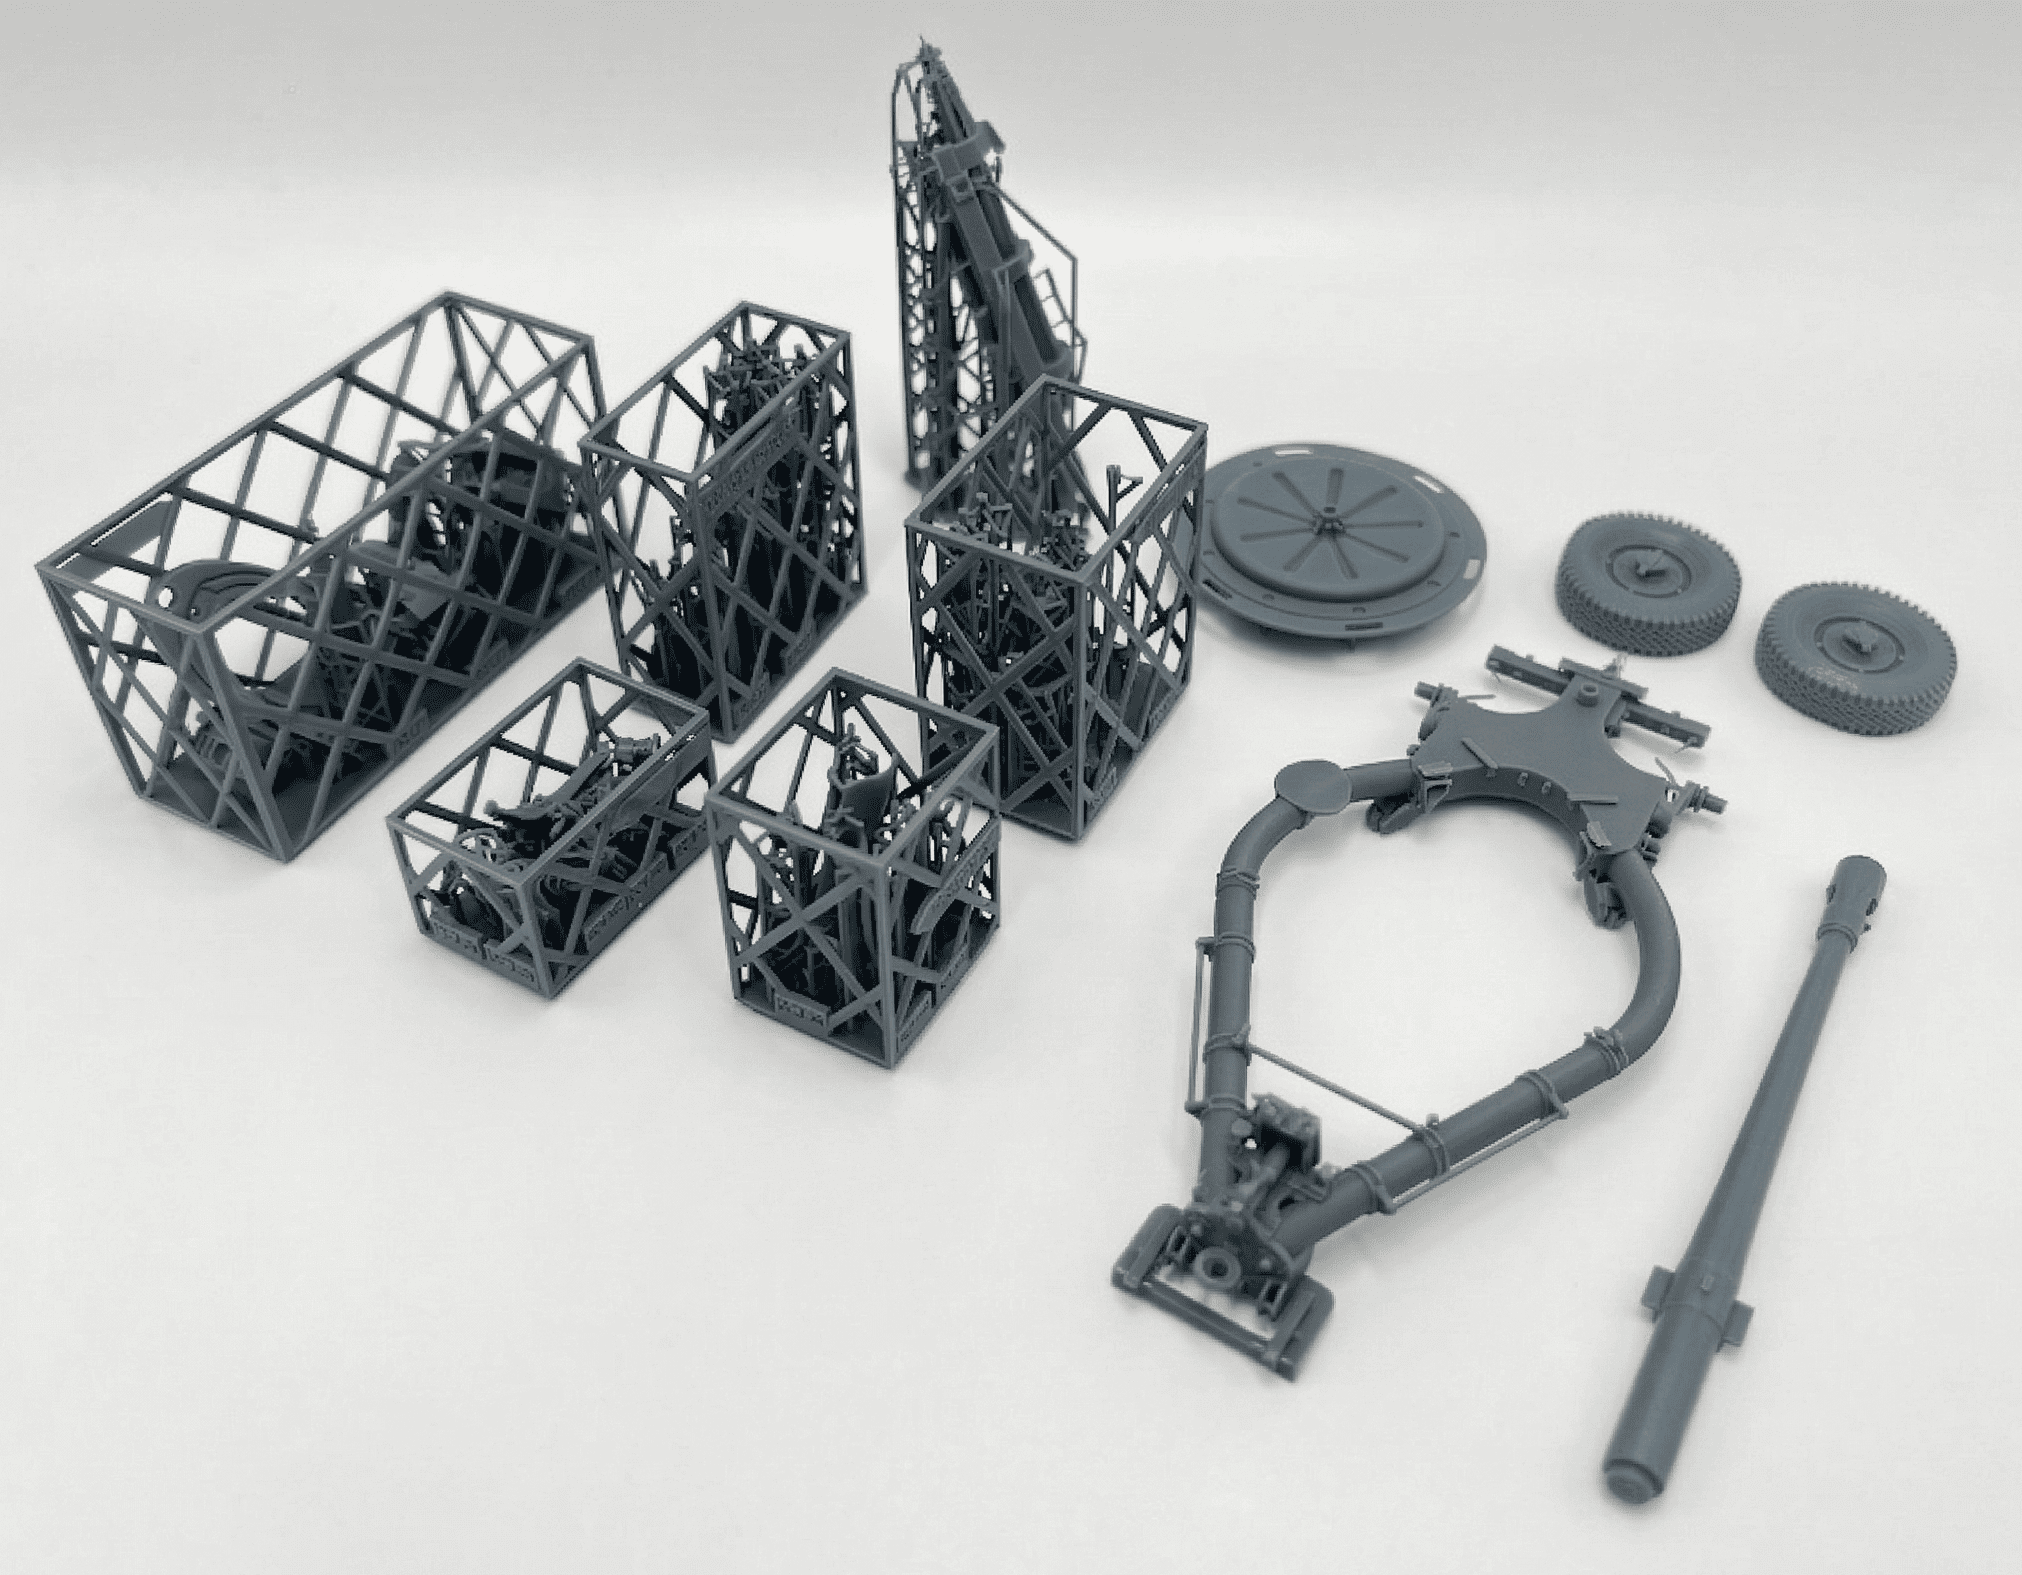
*An example of the complete set for our M119A2 model.
5. Instructions and Painting Schemes
The final stage is the preparation of the "roadmap" for the modeler.
-
Visual Style: we create step-by-step instructions in a modern, clear graphic style.
-
Historical Accuracy: we develop painting schemes linked to the palettes of leading model paint manufacturers. We often base camouflage patterns and markings on real combat vehicles from photos we receive directly from the front lines, allowing you to recreate authentic history in miniature.

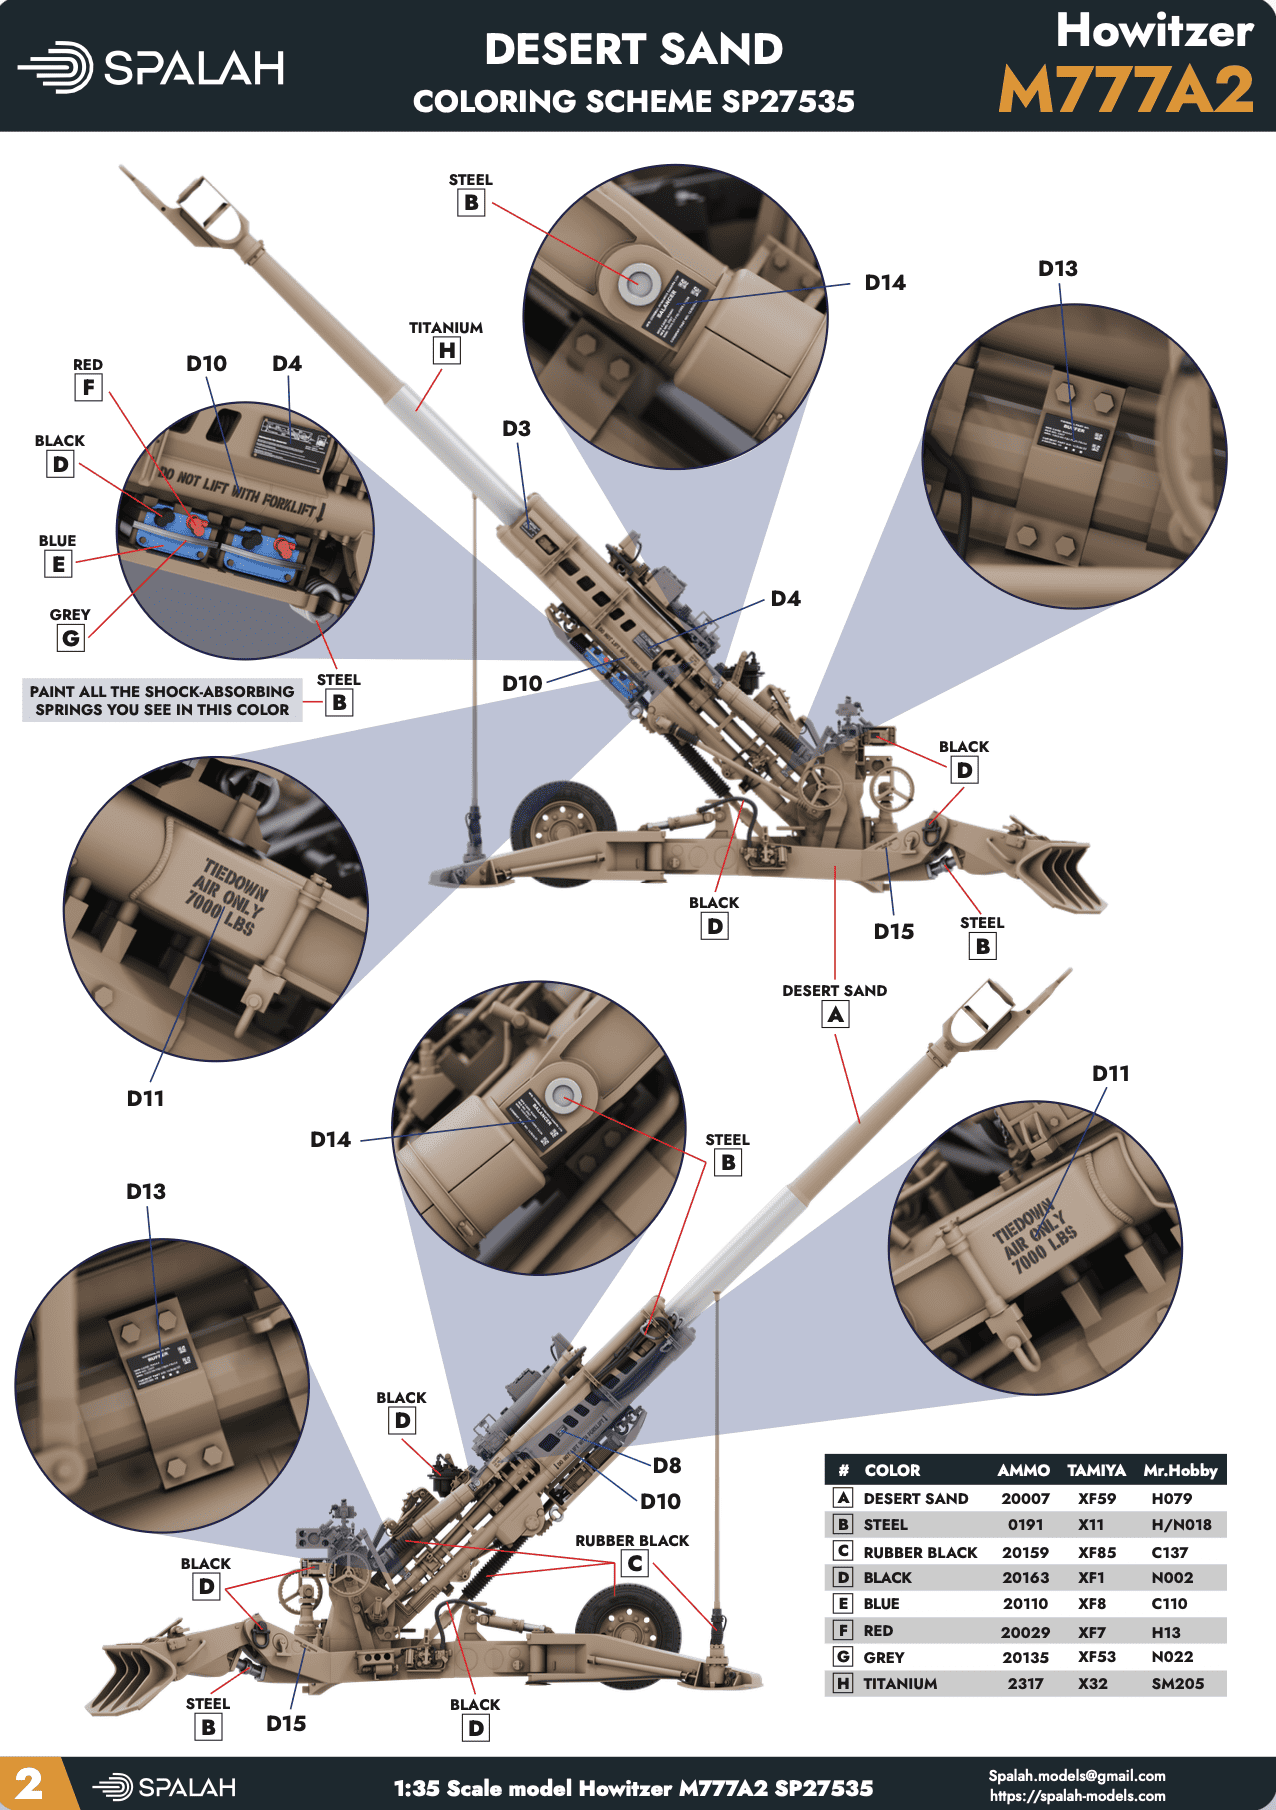
*An example of one of the 2 painting schemes for our M777A2 model.