
Working with 3D Printed Models: A Modeler's Guide
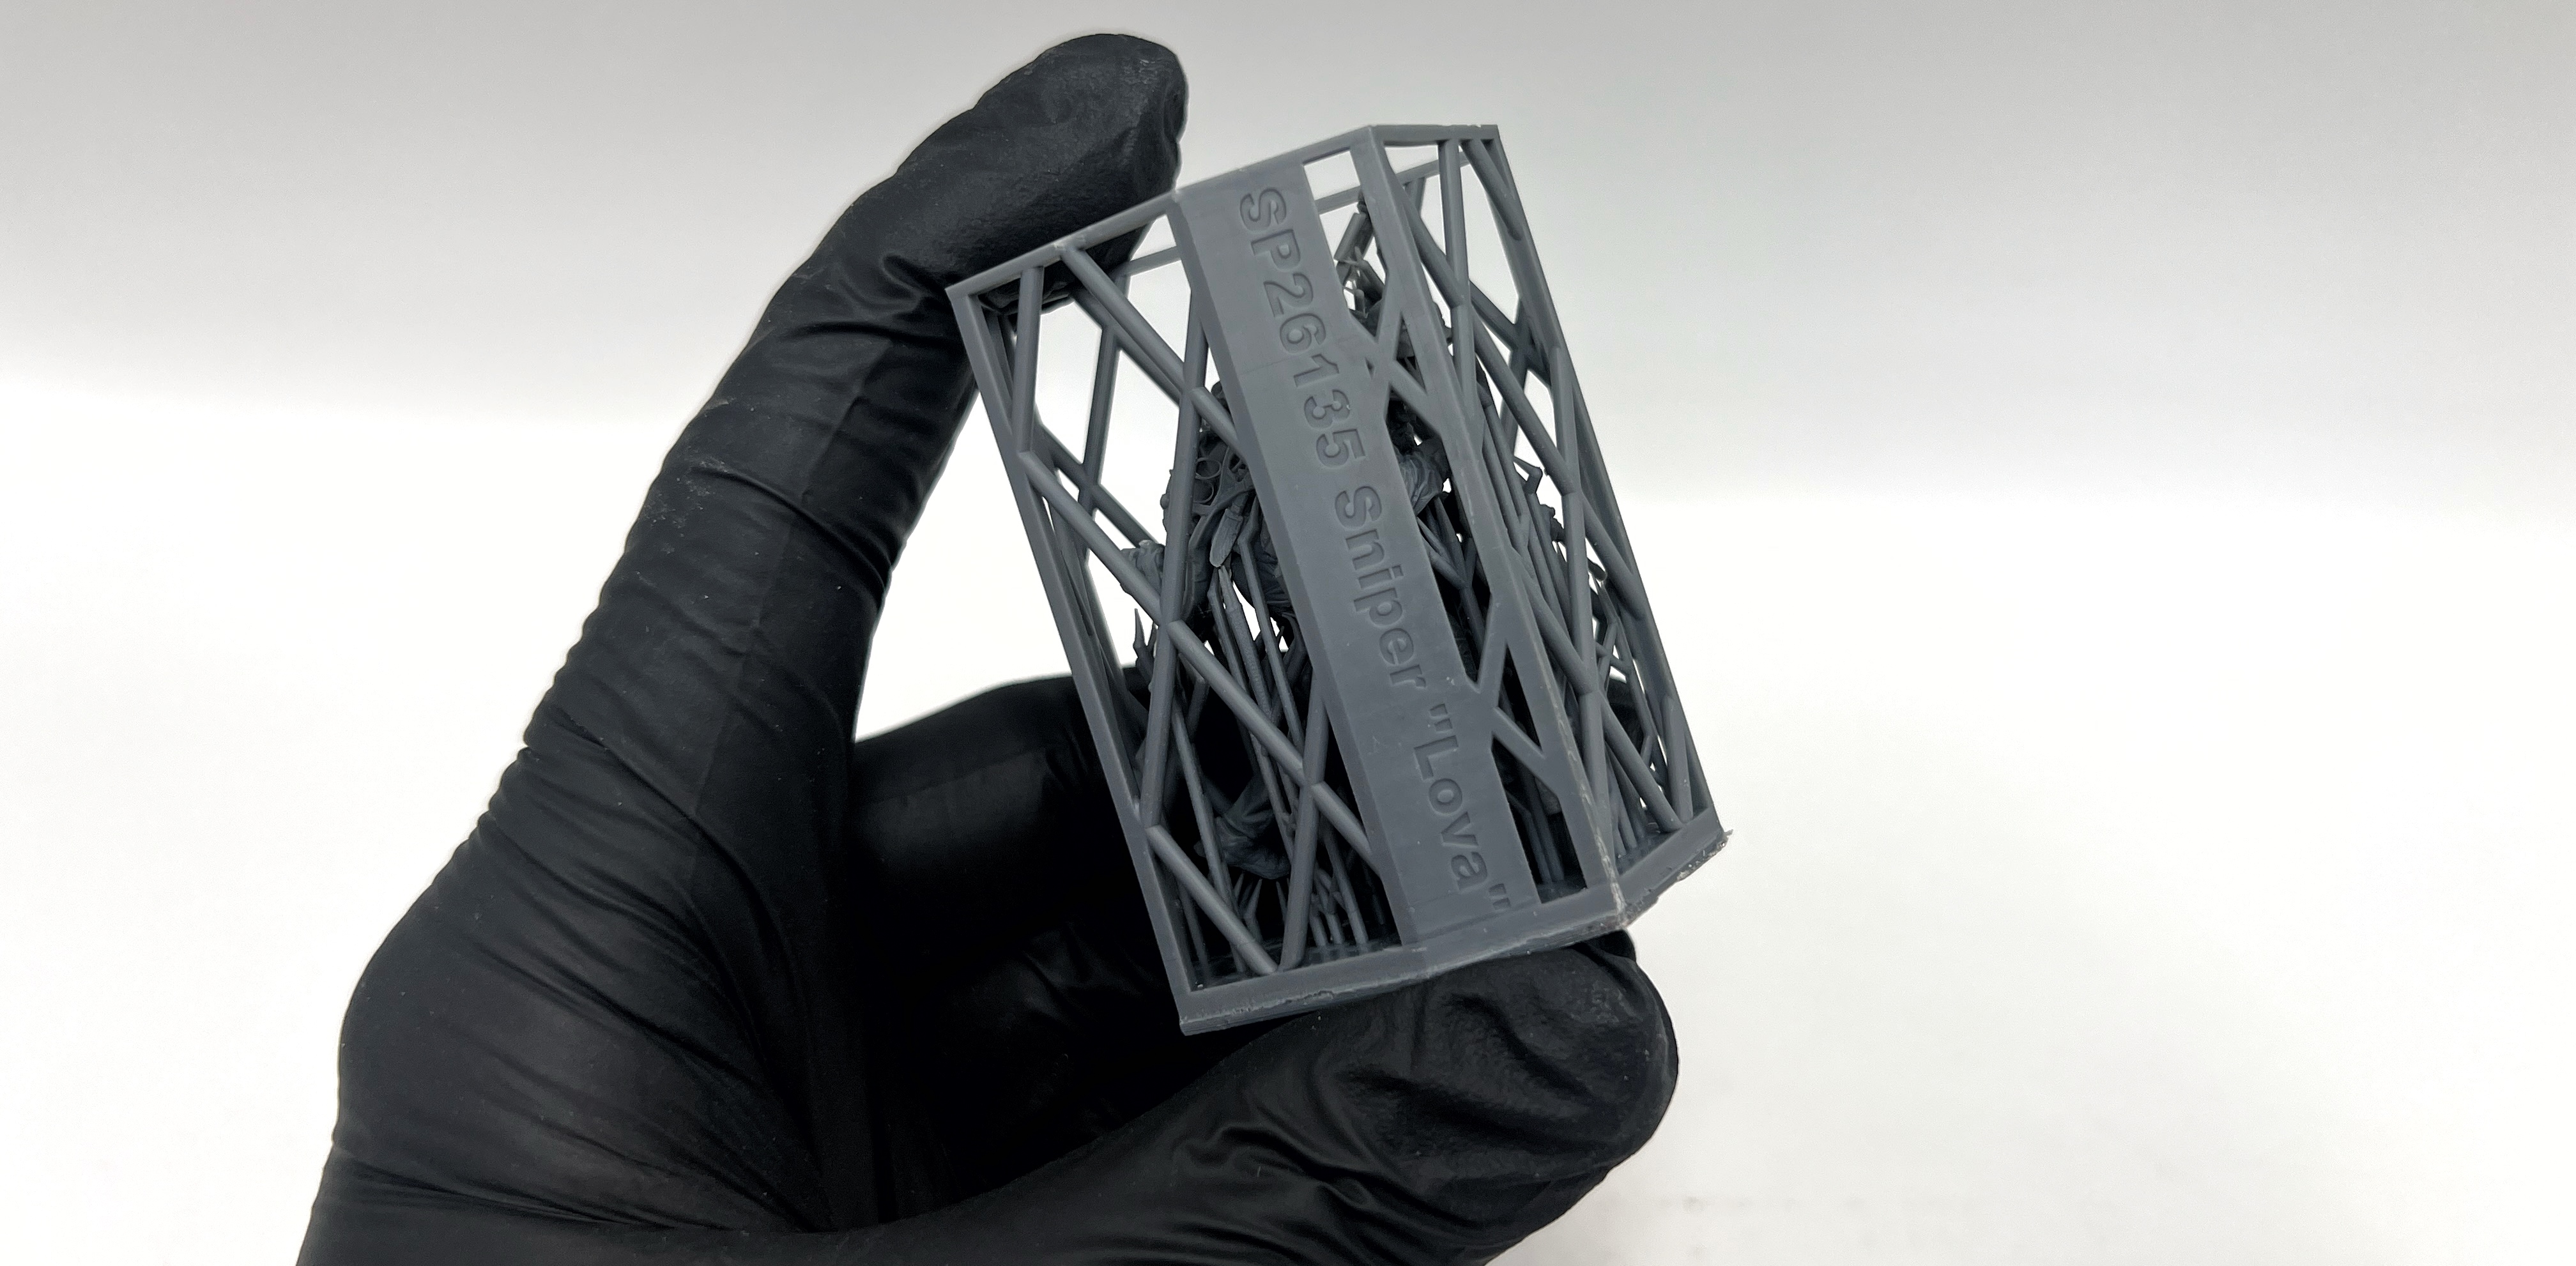
The world of scale modeling is rapidly changing. Traditional injection molding is being complemented and even replaced by 3D printing, which achieves incredible levels of detail. However, working with these models requires a specific approach. In this guide, we will break down the essential steps, from unpacking to final assembly, using a complex weapon model (like a machine gun) as our focus.
1. The Challenge of Supports and Support Placement
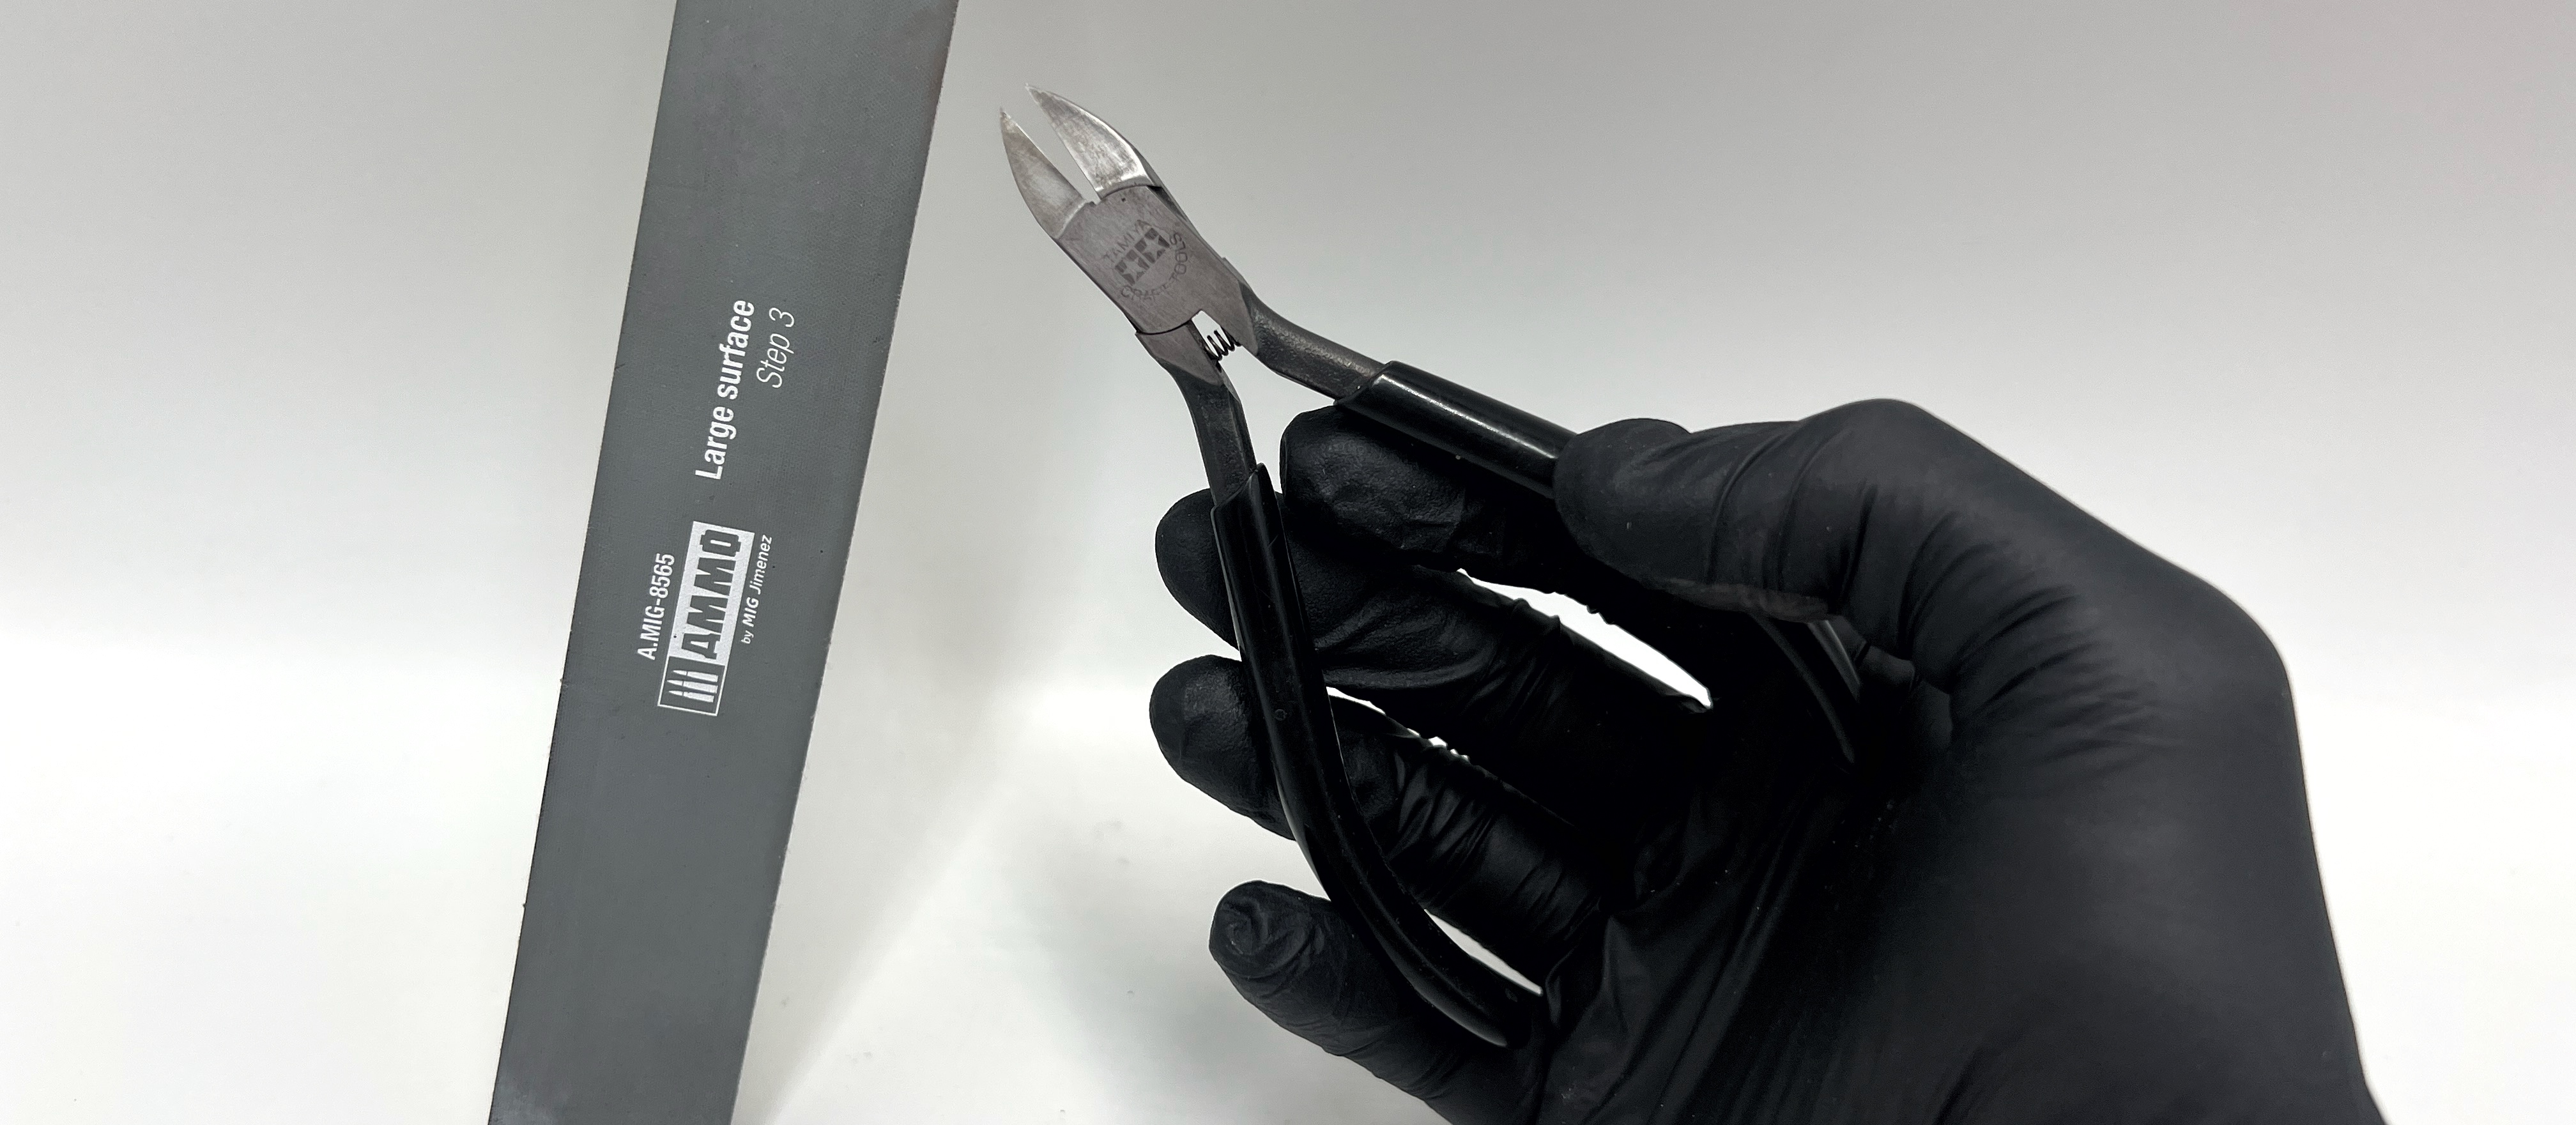
Unlike plastic parts on sprues, detailed 3D models arrive encapsulated in a dense "forest" of thin support structures. These supports are necessary for the printing process but must be meticulously removed.
-
Tools: Use very sharp, single-blade sprue cutters (nippers) for a clean cut.
-
Technique: Never tear or break supports off by hand; doing so can rip chunks of resin from the delicate model details.
-
Best Practice: Cut the supports slightly above where they attach to the model. Later, you will sand down the remaining nubs.
-
Pro Tip: If the supports feel too rigid or brittle, dip the entire assembly in warm water (approximately 50-60°C) for about 30 seconds. This softens the resin, allowing the supports to detach much more cleanly.
2. Assembly: Beyond Plastic Cement
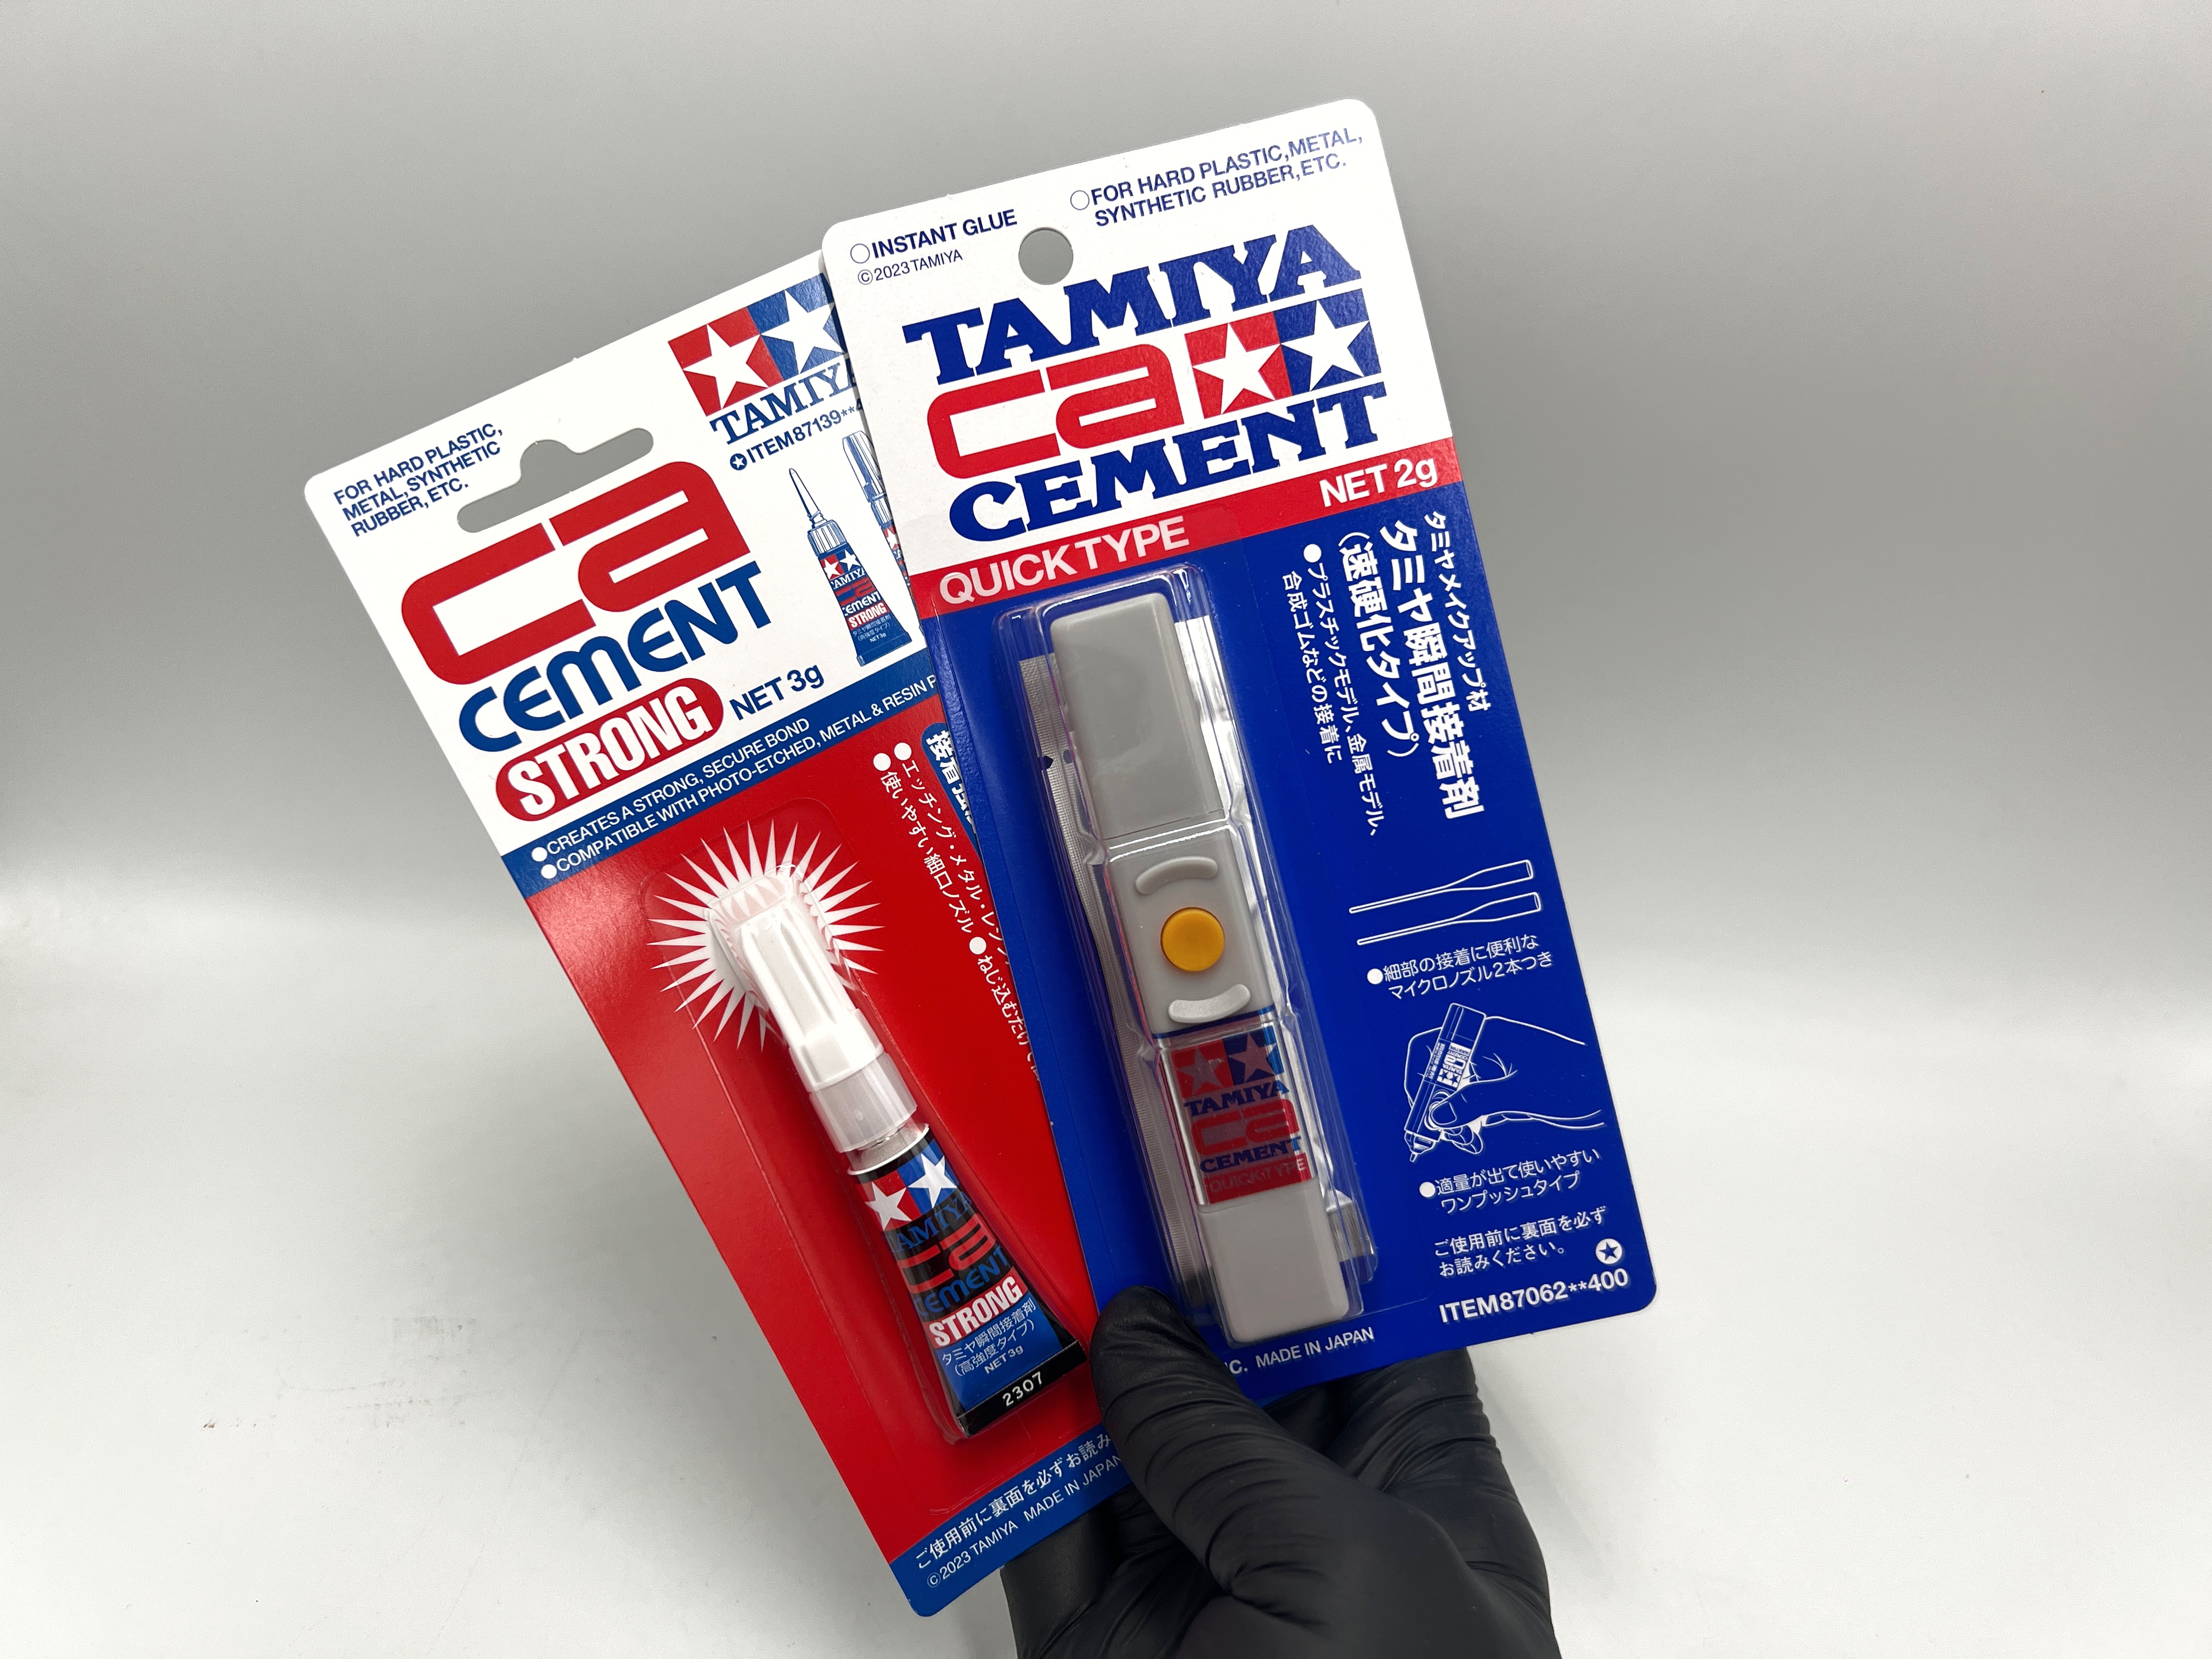
Traditional plastic cement works by melting the polystyrene plastic to create a solvent weld. It will not work on cured 3D printing resin, as resin is a thermoset polymer that does not react with polystyrene solvents.
-
Your Solution: You must use Cyanoacrylate (CA) adhesive, commonly known as Super Glue.
-
Application:
-
Gel CA: Perfect for large parts or critical joins because it has a slower cure time, allowing for adjustment and positioning.
-
Thin/Liquid CA: Best for small, intricate details where capillary action helps the glue flow precisely.
-
-
Expert Tip: Use a CA glue accelerator (kicker) for an instant bond once the part is positioned correctly. This is invaluable when attaching complex sub-assemblies.
3. Surface Preparation and Sanding
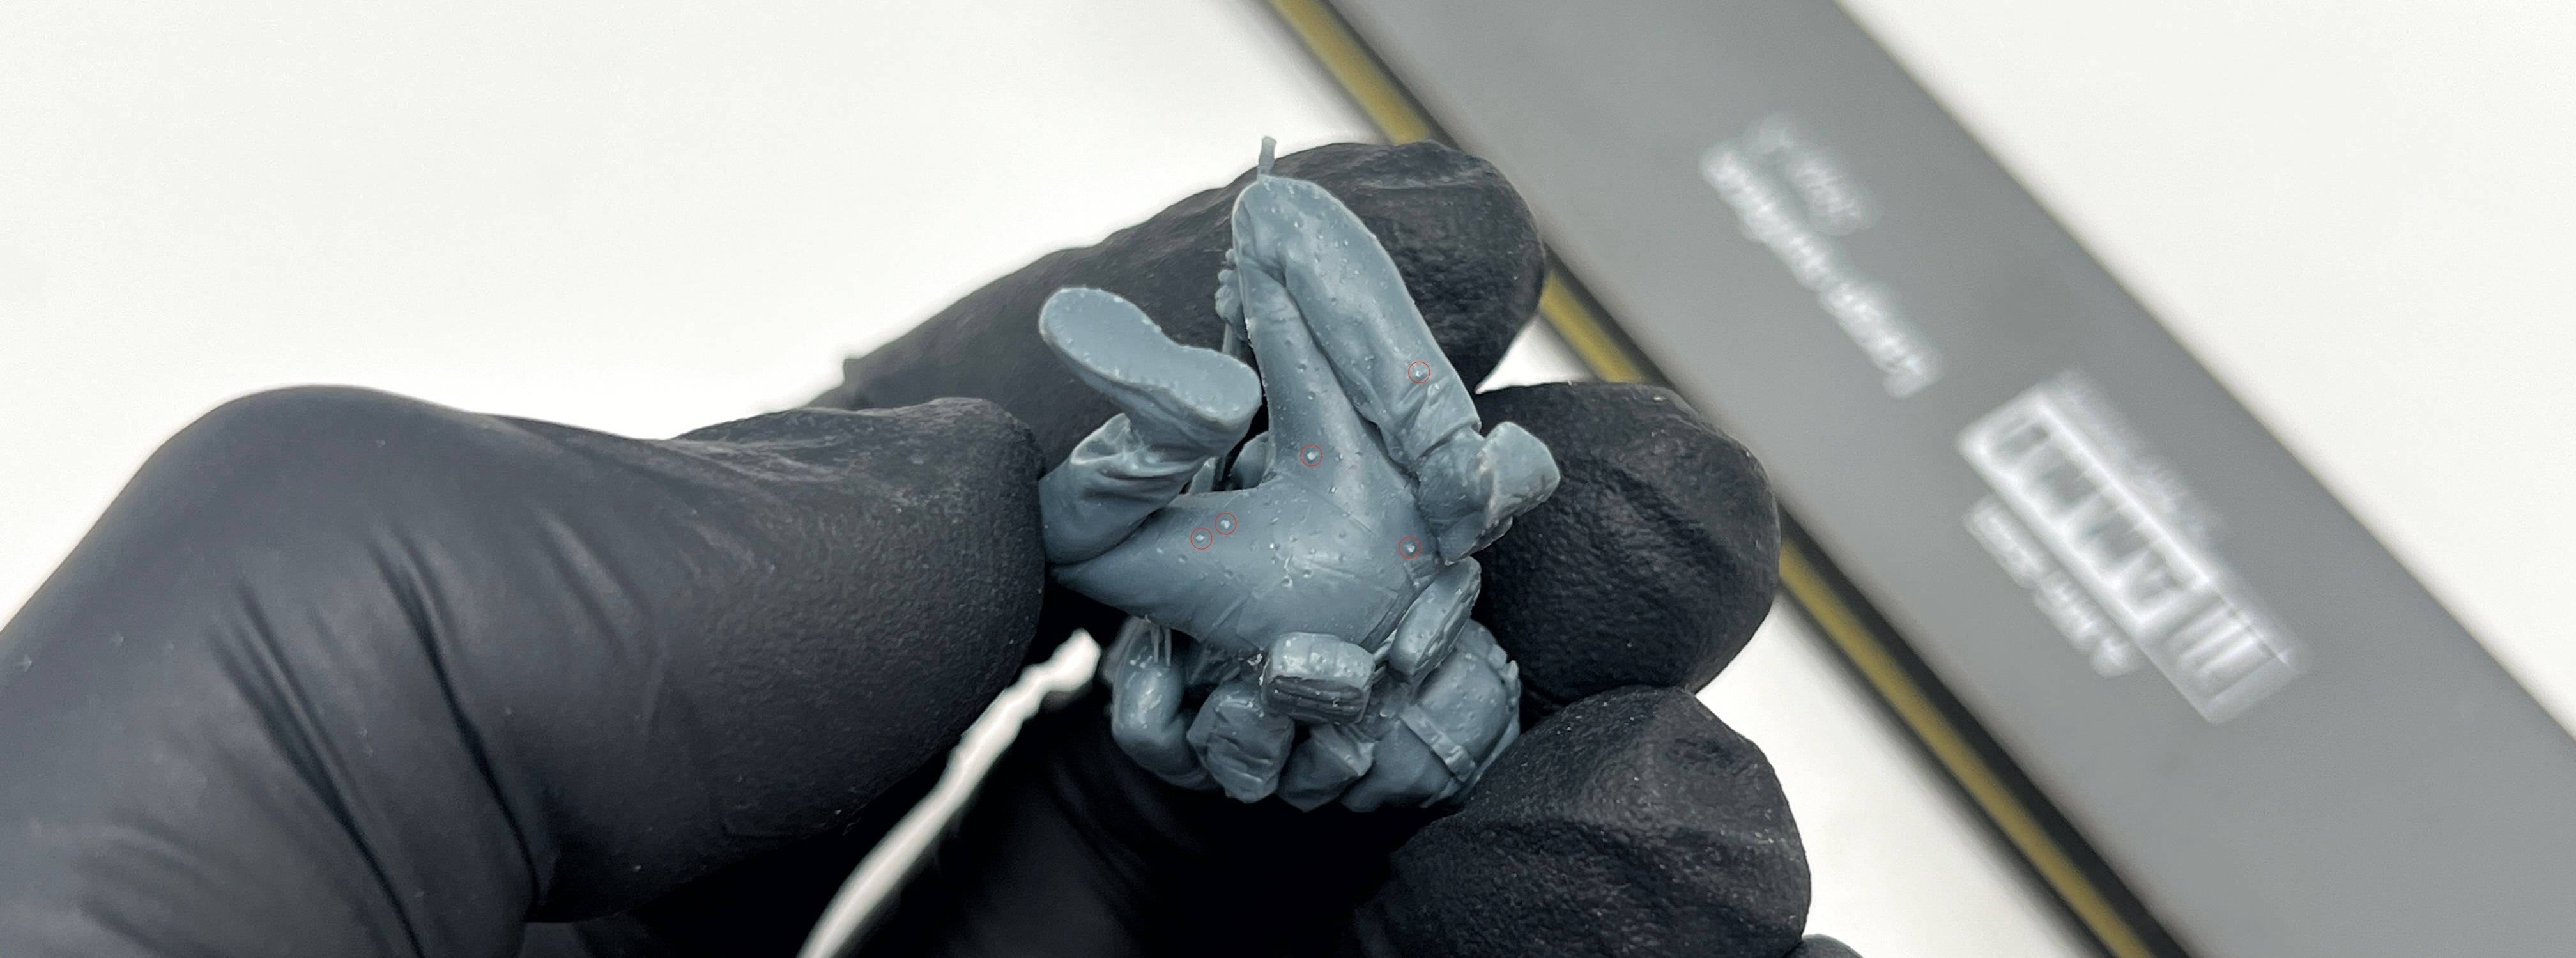
Modern high-resolution printers produce excellent results, but depending on the model orientation and layer height, microscopic "layer lines" may be visible, especially on curved or angled surfaces (like the receiver of our machine gun example). These need to be smoothed for a professional finish.
-
Sanding Technique: Use fine-grit sandpaper or sanding sticks (ranging from 600 to 1200 grit).
-
Wet Sanding: It is best practice to wet sand (dipping your sandpaper in water). This controls dust, prevents the sandpaper from clogging, and achieves a smoother surface.
-
Filler: If there are deep gaps or small "craters" where supports attached, fill them with model filler putty or even a thick primer applied locally, then sand flush.
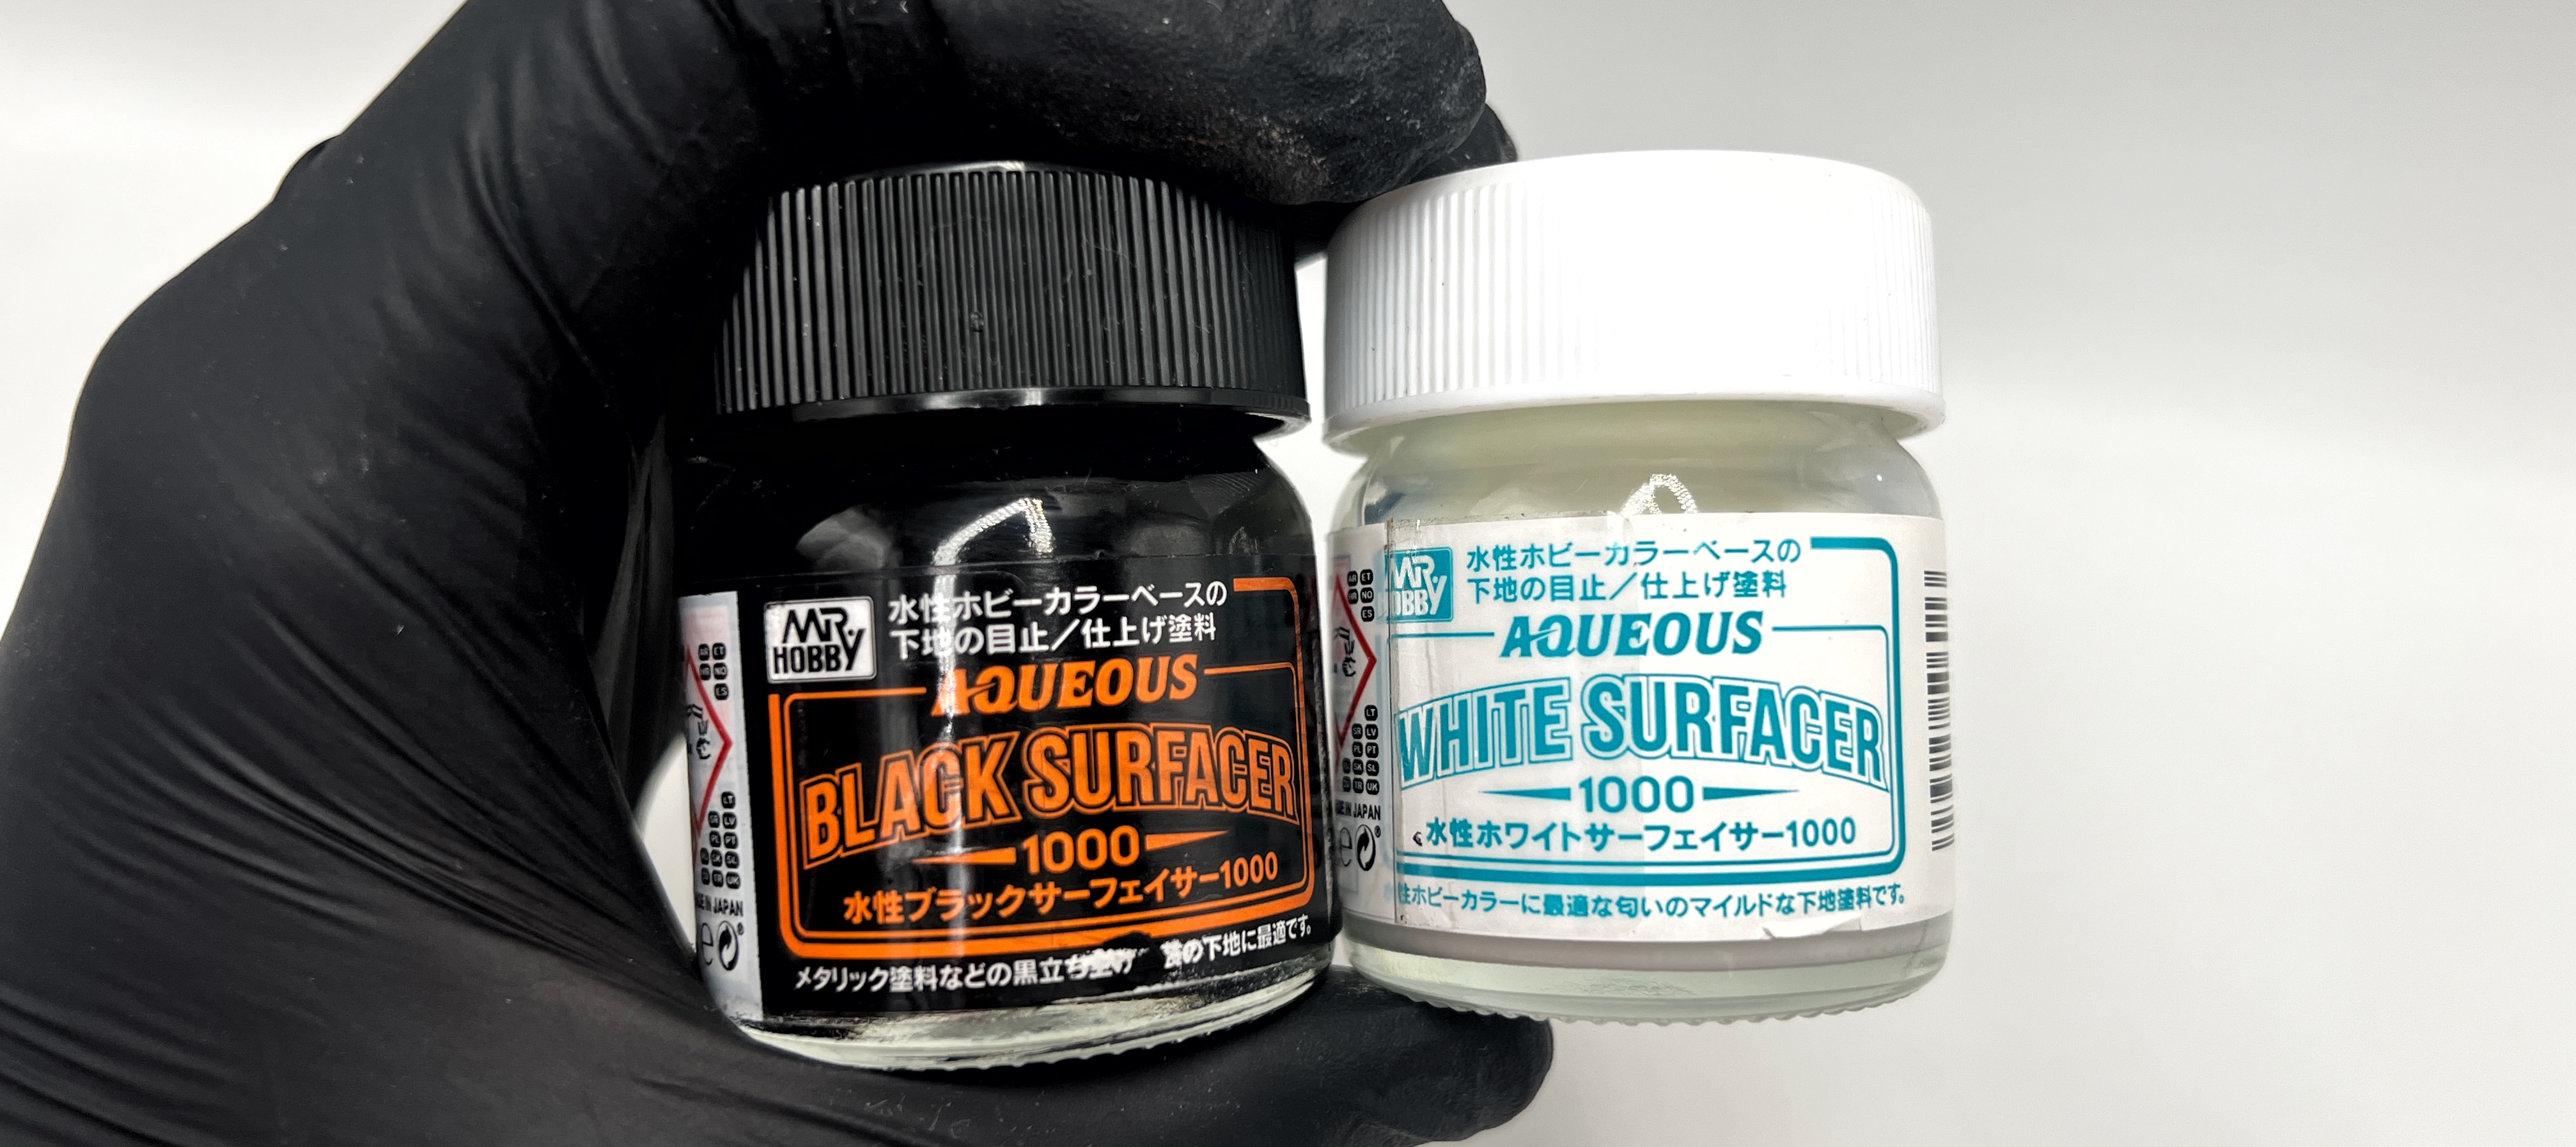
4. Priming and Painting
This is the most critical step for a 3D printed model. Primer is essential.
-
Why Primer? Unpainted resin has a smooth, non-porous surface that doesn't hold paint well. Primer creates the necessary texture (teeth) for the paint to grip.
-
Choice of Primer: Any standard modeling primer (lacquer-based or acrylic) is suitable.
-
Painting: Once primed, the model behaves just like any other plastic model. You can use your preferred paints: acrylics, enamels, lacquers, or oil paints.
Conclusion
Yes, working with 3D printed parts demands more patience and specific tools than working with traditional plastic sprues. However, the reward—placing a figure on your shelf with perfectly reproduced buckles, intricate weapon details, or authentic armor textures—is well worth the extra effort. The capability to print a complex gun tree like the one above in a single, perfectly detailed piece is a game-changer. Embrace the new techniques, and remember that experience comes with every model you complete!